


In this article, I solve Scrimba's React travel journal project, explain the new topics introduced, props, a data page, and JavaScript map, and I share problems I encountered and how to solve them!

Introduction
In the last article, I solved Scrima's first React solo project. That project was a simple webpage that displays a digital business card. Instead of working on Scrimba's website, to get a more real-world React experience, I created a React/Vite project, pushed it up to GitHub, and deployed it with Netlify.
The second Scrimba React solo project builds on the knowledge gained by the first. It then introduces working with props, using a data page containing an array of objects, and using the JavaScript map method to render components.
In this article, I will cover how to incorporate the new React concepts introduced and then discuss problems I ran into along with solutions on how I solved them.
Creating a React Project
Once again, I decided to create this project locally, as opposed to creating it as a scrim on Scrimba's website.
If you would like to learn how to set up a local React development environment, I wrote the following two beginner-friendly articles:
- Create a React Project, Push It to GitHub, and Deploy With Netlify, From the Command Line
- How to Create a Local React Environment with Vite
Links to the finished Scrimba Travel Journal project
🔗 GitHub repo: scrimba-solo-project-travel-journal
🔗 Netlify deployed website: https://scrimba-solo-project-travel-journal.netlify.app/
React Props
In React, "props" is short for "properties," and they are used to pass data from one component to another. Props are a way to make your components more dynamic and reusable.
Here's an example of how to use props in React:
function Welcome(props) {
  return <h1>Hello, {props.name}!</h1>;
}

function App() {
  return (
    <div>
      <Welcome name="Han Solo" />
      <Welcome name="Leia Solo" />
      <Welcome name="Jacen Solo" />
    </div>
  );
}
In this example, we have a Welcome component that uses name props to display a greeting. We then use this component multiple times in our App component, passing in different name props each time.
When we render the App component, it will display three different greetings: "Hello, Han Solo!", "Hello, Leia Solo!" and "Hello, Jacen Solo!" (Yes, in the EU, it's Jacen Solo. Don't get me started on a rant!)
Props can be any type of data, including strings, numbers, arrays, and objects. You can also pass functions as props, which allows child components to communicate with their parent components.
Data Page
For this project, the data page consists of an array of objects that we export. Note that we need to import the images and set the URLs to variables for the project to work properly (I will explain this in detail later in this article).
import TatooineImage from "../src/img/Tatooine.jpeg";
import HothImage from "../src/img/Hoth.jpeg";
import EndorImage from "../src/img/Endor.jpeg";
export default [
{
image: TatooineImage,
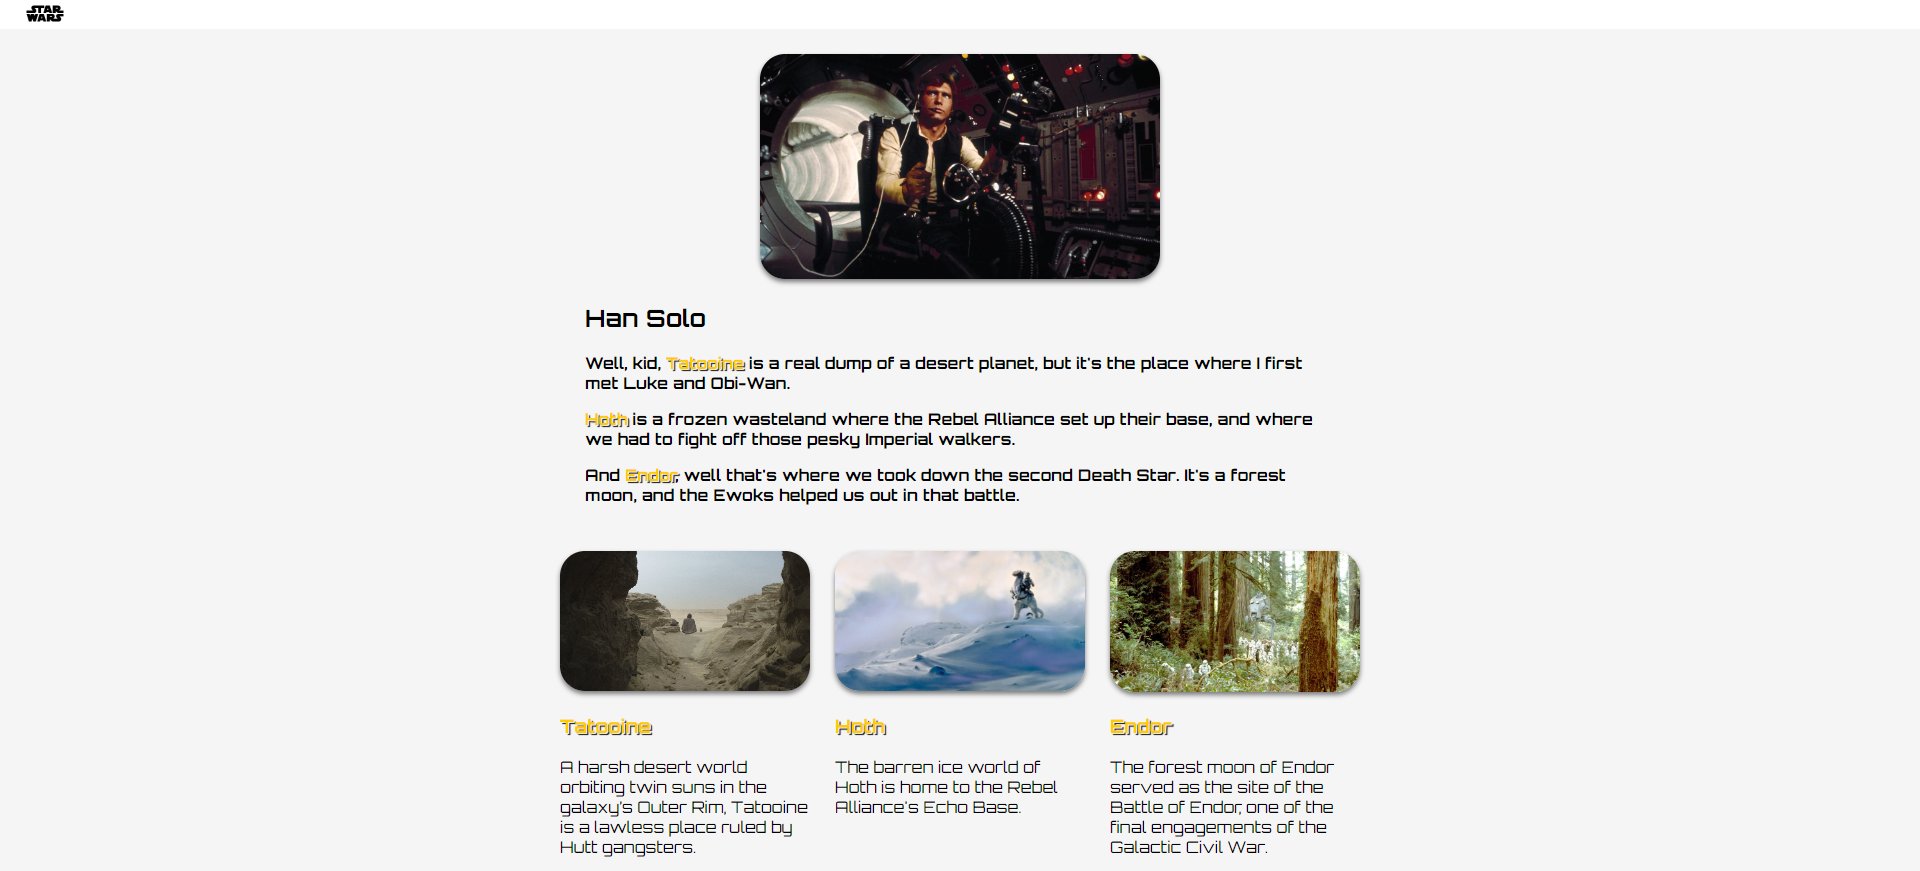
name: "Tatooine",
description:
"A harsh desert world orbiting twin suns in the galaxy’s Outer Rim, Tatooine is a lawless place ruled by Hutt gangsters.",
},
{
image: HothImage,
name: "Hoth",
description:
"The barren ice world of Hoth is home to the Rebel Alliance's Echo Base.",
},
{
image: EndorImage,
name: "Endor",
description:
"The forest moon of Endor served as the site of the Battle of Endor, one of the final engagements of the Galactic Civil War.",
},
];
JavaScript Map Method
Now that we have data to work with, we can utilize the JavaScript map method to help us in creating components.
But first, let's revisit what the JavaScript Map Method is. The JavaScript map() method is a built-in array method that is used to loop through an array and return a new array with modified elements. The map() method creates a new array without changing the original array, and the new array will have the same length as the original array.
Now, let's look at the React Card component I created. This component is a function that takes in props as an argument. The props passed include the values from the data page that we discussed earlier.
import React from "react";

export default function Card(props) {
    return (
        <div className="card">
            <img src={props.image} />
            <h3 className="color-yellow">{props.name}</h3>
            <p>{props.description}</p>
        </div>
    )
}
Now that we have incorporated the values by using props, we can use the JavaScript map method to loop over the data that is imported from the data jsx file.
import places from './data'
import Card from './components/Card'

      const cards = places.map(place => {
        return <Card
          key={place.name}
          name={place.name}
          description={place.description}
          image={place.image}
        />
Tip: To make a commit message and push with one line of code in Git, you can use the following command:
git commit -am "your commit message" && git push
The -a flag in the git commit command allows you to stage and commit all changes in the repository, while the -m flag allows you to add a commit message. The && operator allows you to chain multiple commands together so that they are executed in sequence. This command will commit your changes with the specified commit message and then push them to the remote repository.
Problems I had and how I resolved them
Problems
- Unable to run the dev environment
- Images rendering in the dev environment but not in the build
- Not sure where to create the img folder
Unable to run the dev environment
So I created this project on another computer and pushed everything up to a GitHub repo. I then cloned the repo onto my laptop computer and immediately ran the "npm run dev" command. It didn't work.
Although you may be laughing at me now, and rightly so, for the sake of others that may run into the same problem, the solution is to first run "npm install." Once all of the dependencies are installed, then you run the "npm run dev" command to start your dev environment.
Images rendering in the dev environment but not in the build
This one is tricky. I'll save you time and tell you the solution first. You need to set the images to variables.
Put your images in an img folder, then import it and set it to a variable as demonstrated below:
import TatooineImage from "../src/img/Tatooine.jpeg";
    {
        name: "Tatooine",
        description:
            "A harsh desert world orbiting twin suns in the galaxy’s Outer Rim, Tatooine is a lawless place ruled by Hutt gangsters.",
        // image: '../src/img/Tatooine.jpeg'
        image: TatooineImage,
    }
The strange thing is, if you use the image path directly as a key-value pair in the object, it will work in the dev environment. However, once you build and deploy your project, it will not work!
Not sure where to create the img folder
After much research, the consensus is images that are associated with components belong in the src folder. images not associated with components, such as favicons, belong in the public folder.
Also, note you do not need to, nor are you supposed to, use import React from react on every page in your projects. I used it in my data page jsx file in addition to importing the image URLs, started using JSX syntax, and wondered why it wasn't working! Feel free to laugh at me again!
If you would like to learn more about my journey with Scrimba and how learning with them may help you, you can read my article: How Scrimba is helping me and many others to become confident, well-prepared web developers
I continue to have wonderful experiences with Scrimba, and I highly recommend learning with them! You can read my full Scrimba review on my 12/13/2020 post.
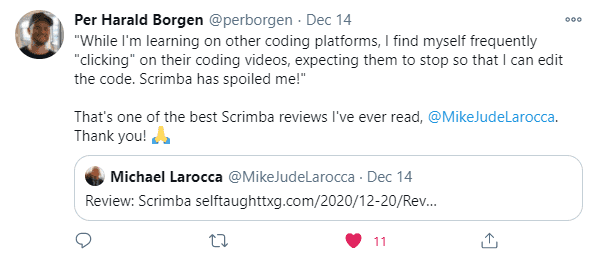
"That's one of the best Scrimba reviews I've ever read, @MikeJudeLarocca. Thank you! 🙏 "
— Per Harald Borgen, CEO of Scrimba December 14, 2020
Conclusion
In this article, I stepped through the steps I took to solve Scrimba's second React project, which is to create a React travel journal.
New React topics introduced in this project are working with props, a data page consisting of an array of object data, and how to use the JavaScript map method to create components.
Instead of creating the project on the Scrimba website as a scrim, I created a React/Vite project, a GitHub repo, and deployed it with Netlify.
Feel free to clone the project, and I highly recommend reading the Problems section in this article so that you can learn from my mistakes and possibly resolve any issues you may currently have!
Let's connect! I'm active on LinkedIn and Twitter.